

In the last post, we finished on the side of Svelte to display a blog post and enable to write code with Markdown as well as have great looking code highlighting.
Today we're taking a look at Strapi. Why you should use it and how to set it up.
TLDR
Strapi is a quick and easy way to create a backend that can easily be used by anyone creating content for a website. It is also incredibly versatile and adaptable to the needs of most static websites.
I'll explain how to set it up and create a blog post object on the backend.
Why?
When writing blog posts the easily thought of as a developer is to spend writing those posts directly in the code instead of using a backend server that servers it.
If you're a developer that knows how to write code and is experienced this is the quicker choice. There are however multiple reasons why this could be a problem:
- The person that creates the website might not be the one that creates the Content for it instead it is created by:
- A customer that hired you to create a website for him
- A Coworker that writes the blog posts to advertise for a business
- A copywriter that was hired to write content for your blog
- Someone that should only have partial access to your blog but not every section of it.
- You want multiple people to be able to write posts on your blog without being able to edit posts of other people.
- Your blog is not just simply offering information to the user but also enables the user to send content to your backend like offering a Contact form.
If one of those is the case for you there are multiple ways to do those tasks.
- You use a CMS for frontend and backend (ex: WordPress, Joomla, Drupal
- You create the frontend with frameworks like react and create the backend from scratch
- You use a headless CMS like Strapi and only create the frontend.
In our case we're obviously choosing option 3, but let's, quickly talk about the other two options:
Using a CMS
A CMS or Content Management System is a system that allows anyone to change content on a website by simple interaction on an admin panel accessible from the net.
This makes content creation quick and easy for everyone without the necessary developer expertise.
This usually involves either create your own frontend or more regularly buy themes from a seller that can be used to design how the website should look.
WordPress websites are by no means bad but they usually come with one disadvantage: Every subsite needs to be loaded completely with complete disregard of the already loaded content. This makes a site like WordPress, even if you enable fast loading speeds, very clunky compared to alternatives.
Use a Frontend library
Many frontend libraries when developed well seems more reactive than any alternative. The user only needs to fetch the skeleton of the site once and the site uses techniques like server-side rendering with client-side rehydration to create a website that not only reacts fast to the user but also offers fluid transitions from one page to another even if the load time might be the same.
Google calls this process Rendering on the Web. This is basically the same thing we do with our frontend but this comes with a problem:
We somehow need to get the data to display.
Usually, this data is taken from a database and added or modified via an admin panel that is secured via a login.
Creating this backend on your own usually is just as much if not even more work than writing the frontend part. Choosing this path, however, offers full control about how the data is accessed and what kind of data can be set.
Between using a CMS to handle the backend and writing the backend completely on your own there is a middle ground. A Headless CMS.
Strapi
A headless CMS is the backend part of a CMS. It brings an admin panel to set the data that are displayed and a REST API that offers the data that will be displayed on the website without having to redeploy the website.
Strapi is a headless CMS comes with multiple advantages:
- It can be self-hosted with the database of your choice
- Its is designed to be Extensible. Every Request can be modified to do additional checks of offer additional data.
- Its is easy to set up
- It is open source
- The core functionality is free to use
But let's not stay too theoretical but go into detail.
How to get started
Getting started with Strapi is really easy you can just follow the quickstart guide of Strapi itself.
I'll warp up the most important parts here.
First, run the following command in the folder that you want your project to be created in.
I but mine to /c/Projects/ and be called my-project
yarn create strapi-app my-project --quickstart
This immediately sets up a project and opens up an admin panel in your default browser.
There are ways to modify the database or other options of strapi. I'll not go too much into detail in this tutorial because that would probably be a set of posts on its own. For now, we stick with the defaults.
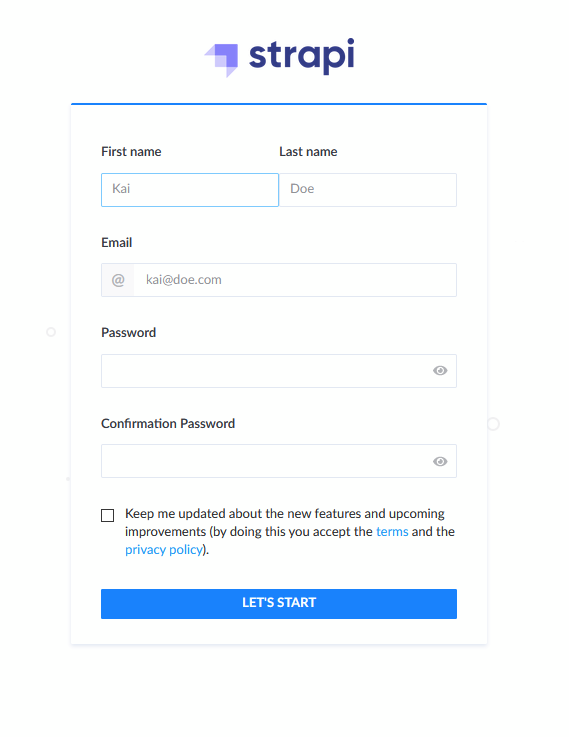
Once in the admin panel, we will have to set up an account that we log in with to do settings in the admin panel. If you plan on using this setup on a server directly you are probably going to set up the exact content of the database again on the server. However, there is also the possibility are never going to host this database on any server but as explained in previous chapters just run this locally and recompile your frontend to a static website locally before uploading it to a new server. More on this towards the end of the tutorial.
In any of the two cases, we are going to use this local version to set up the Content-Types that you are late able to push content to.
After creating our account we are presented with the Homepage.
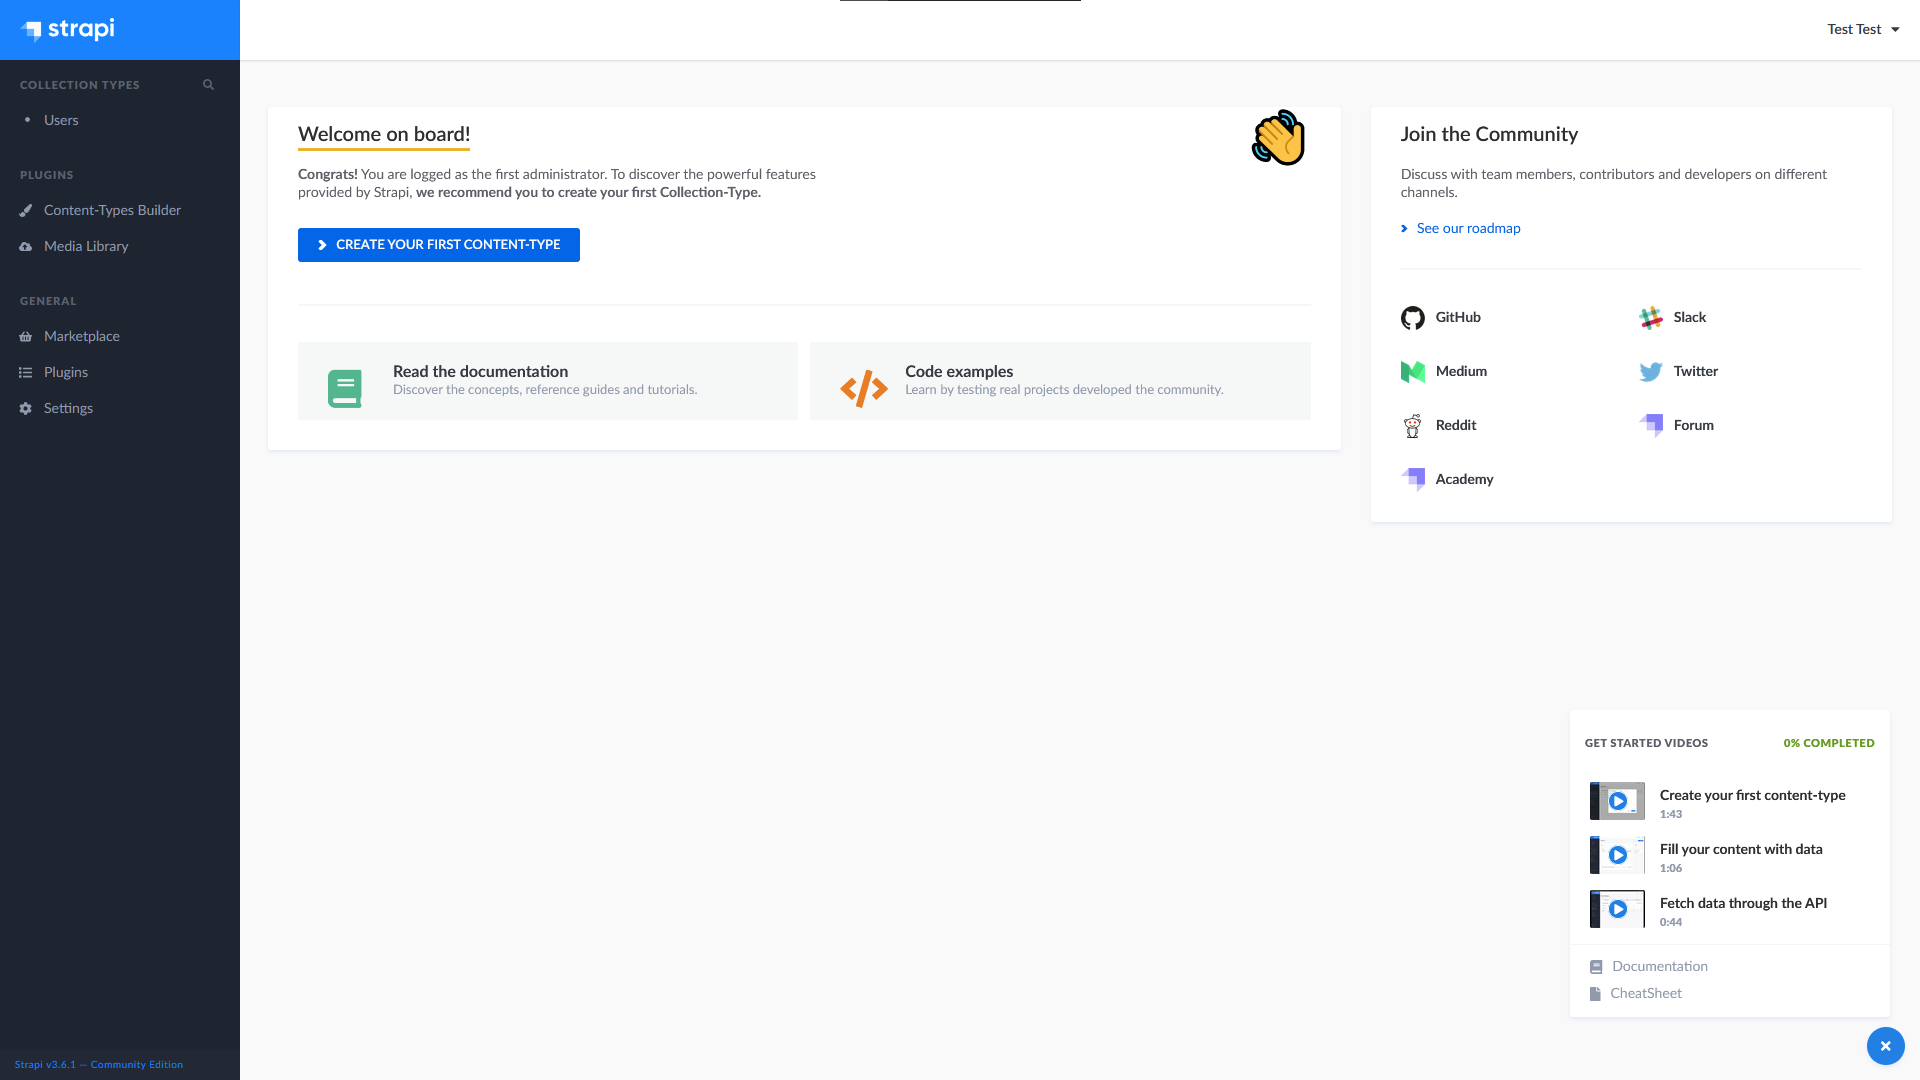
Creating a Blogpost
Let's use this to create a Blog Post Content-type. This is as easy as it gets.
Click on Content-Types Builder
Create new collection type
Enter The name of the Content-Type
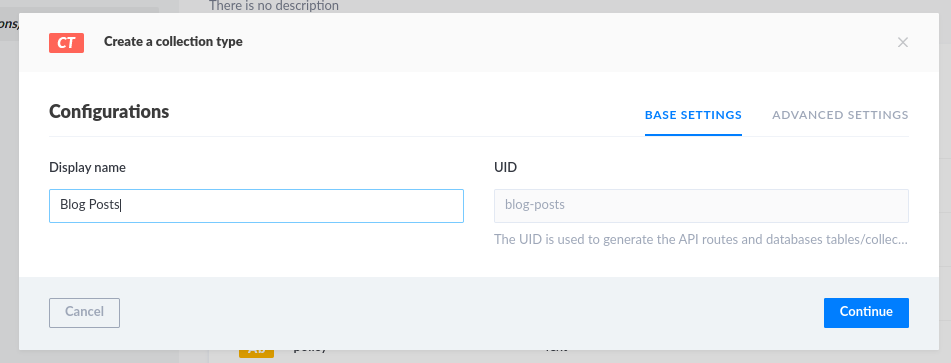
Press Continue
Select Text and enter the name Slug This is going to be the unique field that allows the post to be accessed via URL later on.
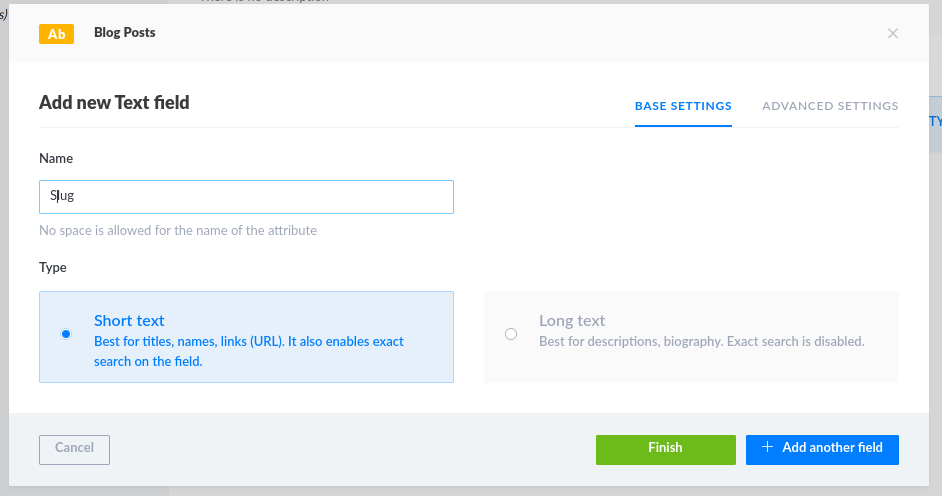
To make it Unique and required we have to click on Advanced Settings and set Required Field and Unique Field
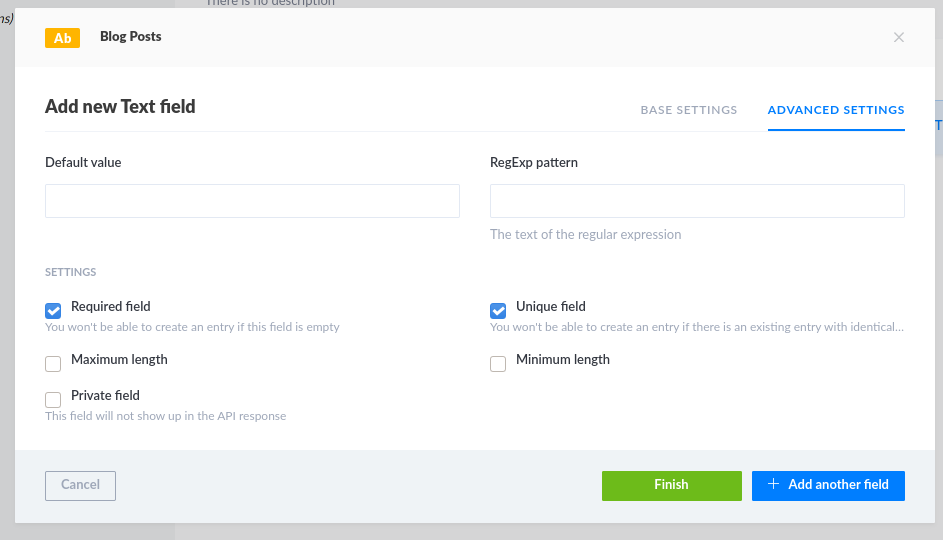
After this click on Add another field to add our second field which is going to be a Text as well. This time it is called Title (No need for extra settings)
Click on Add another field again to add a Rich Text for the last field called HTML which describes the blog content. (This can be HTML or even Markdown but since we called it HTML previously we are going to stick with that.
Click on Finish and Save and wait for Strapi to reload.
After Reload you should see a new Content-Type called Blog Posts which can now be used to write blog posts to the database.
Preparing get requests
The next thing that needs to be done is to allow any user to make a get request to Strapi to get the blog data.
The setting for this is tricky to find initially, but it can be done with some simple clicks nonetheless:
First click on Settings
Click on Roles
Select Public
Scroll Down to Permission, Application and select count, find and findone for Blog-Posts
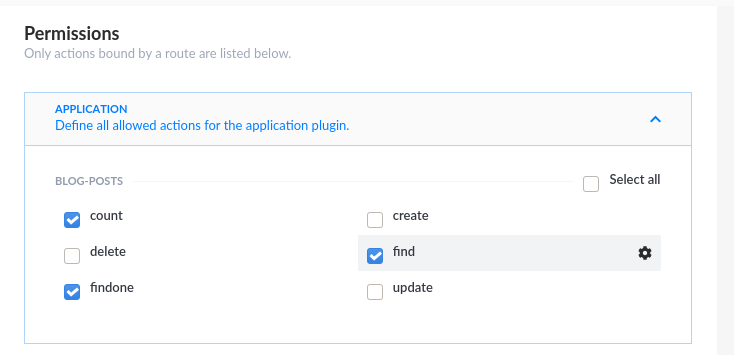
After this click on Save
Once this is done there are three get requests that you can make to fetch data
- http://localhost:1337/blog-posts
- http://localhost:1337/blog-posts/count
- http://localhost:1337/blog-posts/:id
The first one fetches all the blog posts in JSON. The second one tells you the number of posts there are while the third one allows you to fetch data of a single post.
Make settings persistent
After this is set up we can now create blog posts and request them on the server easily. This also would allow user-generated content but for our purpose, this is not necessary.
After we are done setting up the necessary Content-Types that we want to display we need to make sure that the settings stay this way even when we copy our data to a server or use them on another system. I'm not going into detail on how to keep the data of the blog posts in sync locally and on the production server. For this, we need to select the same hosted database for both cases.
If you want more information on that you can look into the documentation of Strapi.
But aside from the data, we don't want to have to do our settings every time we move to another server.
This is not necessary however due to how Strapi works.
All the settings that we did while using the Dev backend were saved locally in code form in our project folder.
To ensure this is not lost we can simply add this folder to a GIT project or any other version control and work with it on any computer we want.
There is more
As you can see in the documentation of Strapi, it is a very configurable and powerful tool to set up any CMS backend without much work. If you want to learn more about this I strongly advise you to check out the documentation.
What's next?
In the next post, we will modify our frontend to fetch the data from our strapi server. We will also talk discuss either using strapi to prebuilding our content locally into a static page or alternatively how to host strapi as well as our Sapper app on a server for server-side rendering with the help of Nginx.